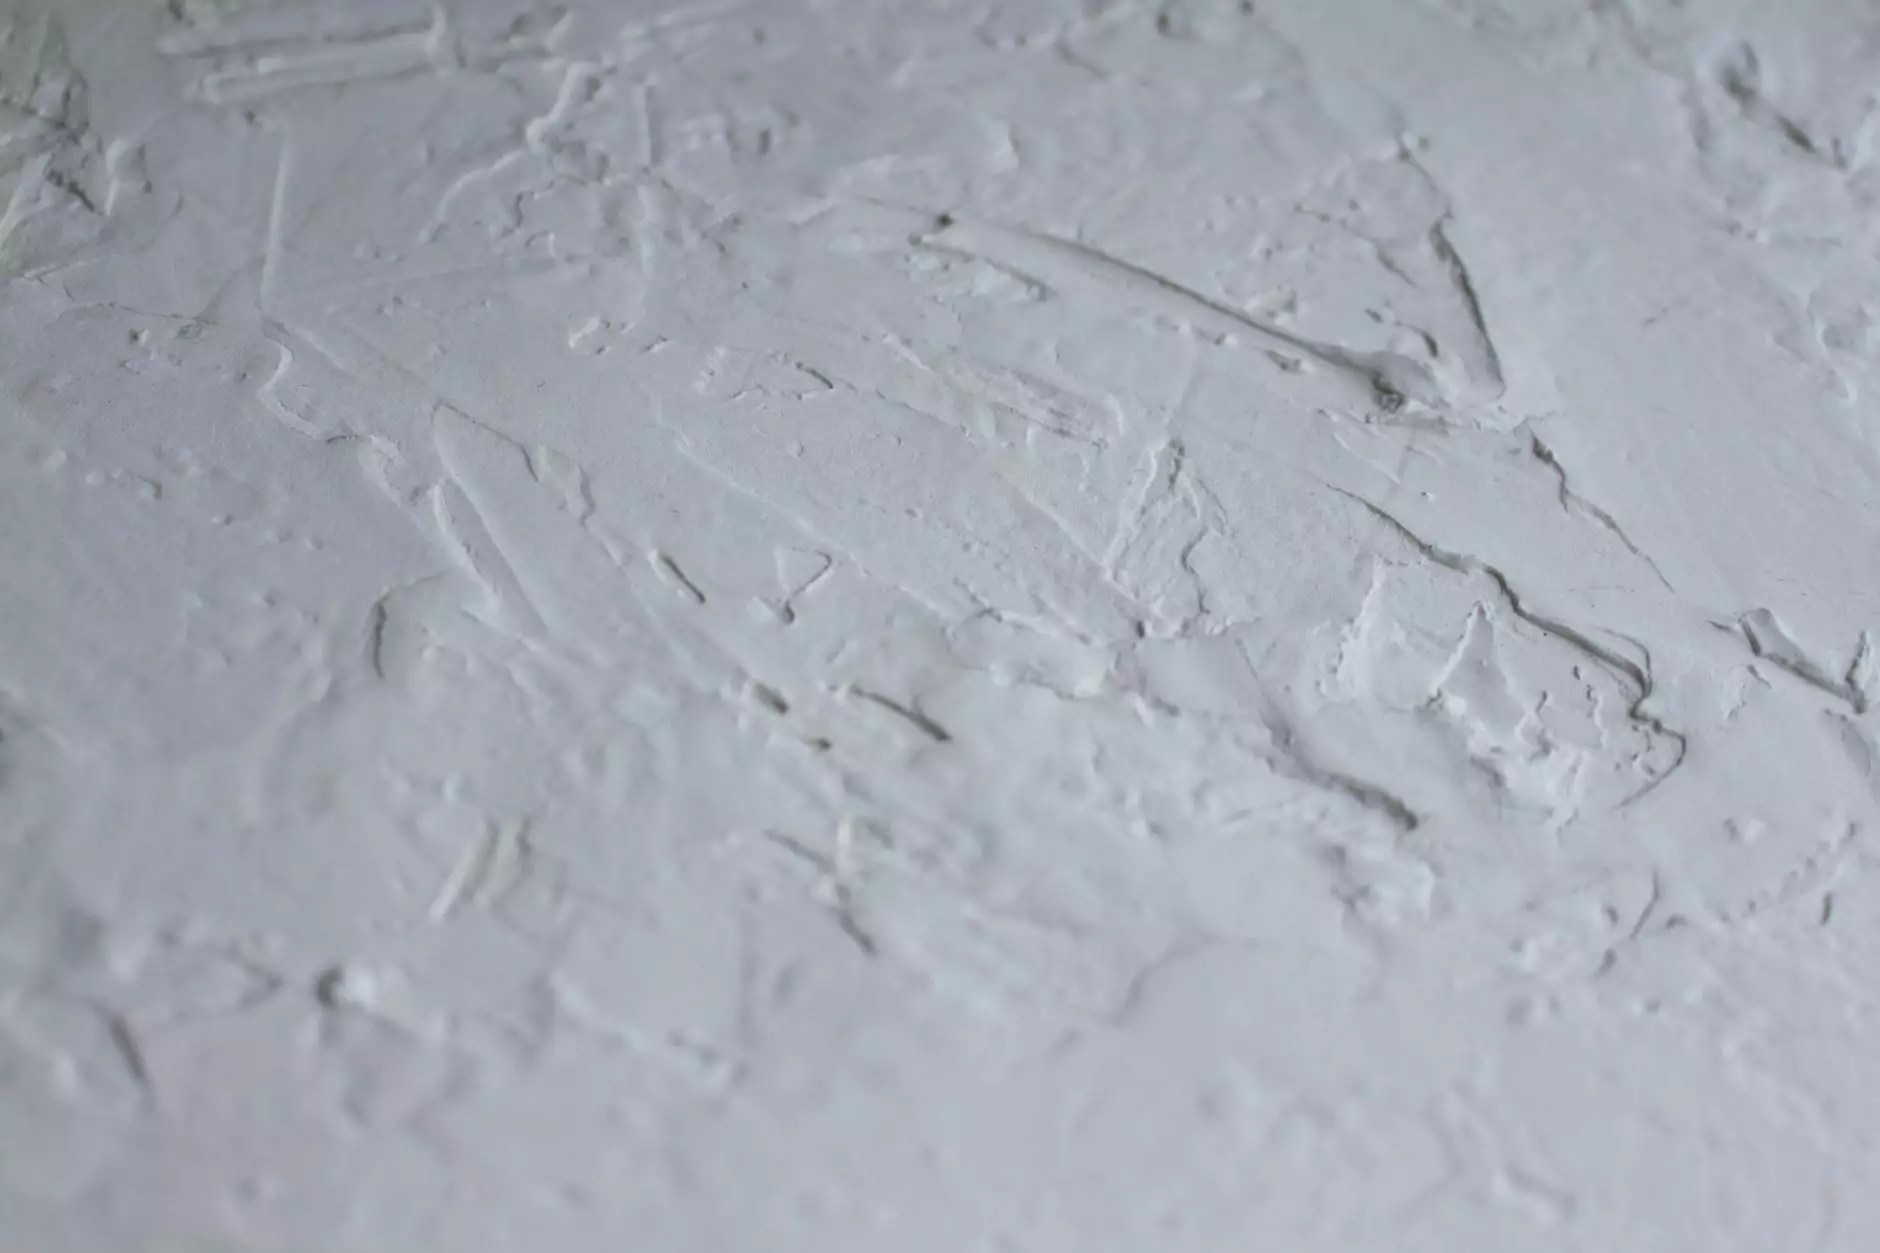
Plastering a Pool: A Comprehensive Guide

Plastering a pool is a crucial aspect of maintaining the beauty and functionality of your swimming oasis. Whether you're renovating an existing pool or constructing a new one, understanding the plastering process is essential for long-lasting enjoyment. In this extensive guide, we will cover everything you need to know about plastering a pool, from preparation toaftercare, ensuring that your investment remains vibrant and durable. Let's dive in!
Why is Plastering Important?
Pool plastering isn't merely an aesthetic endeavor; it serves several critical functions:
- Surface Protection: The plaster acts as a barrier against water, chemicals, and other damaging elements.
- Visual Appeal: A beautifully plastered pool enhances the overall aesthetics of your outdoor space.
- Safety: Smooth plaster finishing reduces the risk of injuries, making it safer for swimmers.
- Longevity: Properly applied plaster extends the lifespan of your pool, saving you money on renovations in the long run.
Types of Pool Plaster
Before diving into the plastering process, it’s essential to understand the different types of pool plaster:
- Traditional White Plaster: This is the most common type, a mixture of white cement and marble dust that creates a classic, clean look.
- Colored Plaster: Available in a variety of hues, colored plaster can add an exciting dimension to your pool’s appearance.
- Quartz Aggregate: This plaster contains quartz crystals, offering superior durability and a colorful finish.
- Glass Mosaic Tile: For a more luxurious feel, glass tiles provide a stunningly unique visual but come with a higher cost.
Preparing for Plastering a Pool
A successful plastering job starts with proper preparation. Here’s what you need to do:
1. Draining the Pool
Begin by completely draining the pool. Ensure you follow local regulations regarding water disposal.
2. Surface Cleaning
Once the pool is drained, clean the surface thoroughly. Remove any existing plaster, dirt, algae, and debris. A pressure washer can be immensely helpful for this task.
3. Repairing Damages
Inspect the pool for cracks and other damage. Fill any holes or cracks with an appropriate filler and allow it to cure fully before proceeding.
Gathering Necessary Tools and Materials
Before you start the plastering process, ensure you have the following tools and materials:
- Plaster mix: Choose according to the type of plaster you decided to use.
- A Mixer: An electric mixer or drill with mixing paddle to combine the materials.
- Hawk and Trowel: Essential tools for application.
- Water Hose: For cleaning tools and adjusting plaster consistency.
- Float: To finish the surface smoothing.
- Sponge: For post-application cleaning.
The Plastering Process
Now that you're prepared, it’s time to get to the fun part: the actual plastering!
1. Mixing the Plaster
Begin by pouring the plaster mix into your mixing container following the manufacturer’s instructions. Gradually add water and mix until you achieve a thick, creamy consistency.
2. Applying the First Coat
Using a hawk and trowel, apply the first coat of plaster starting from one end. Work in small sections to maintain control and ensure even application.
3. Smoothing the Surface
Once you've applied the first coat, use a float to smooth the surface. This step is critical; a well-leveled plaster will enhance both aesthetics and safety.
4. Allowing to Cure
Let the first coat cure as per the manufacturer’s recommendations, usually around 24-48 hours, before applying a second coat.
5. Applying the Second Coat
Repeat the application process for the second coat. This coat is vital for achieving a smooth, durable finish.
6. Finishing Touches
Once you’ve completed the second coat, do a final smoothing with a float. Then, use a damp sponge to remove any excess plaster and create a polished finish.
Post-Plastering Care
After you’ve successfully plastered your pool, taking care of it properly is essential:
1. Curing the Plaster
The plaster needs to cure properly, which usually takes about a month. Keep the surface moist by spraying it with water several times a day during this period.
2. Filling the Pool
Once the plaster has cured, you can fill the pool. Be sure to fill it slowly to avoid damaging the new plaster. Monitor the pH levels and chemical balance of the water before swimming.
3. Regular Maintenance
After plastering a pool, it’s essential to maintain the right balance of chemicals to prevent staining and wear. Regular cleaning and shock treatments will also keep the plaster looking fresh and vibrant.
Conclusion
Plastering a pool is a rewarding process that requires careful attention and effort. By following these detailed steps, you can ensure a beautiful and long-lasting finish that enhances the overall appearance and functionality of your swimming pool. Remember that while plastering a pool may seem daunting, investing the time and effort will lead to an appealing refuge that you can enjoy for years to come.
For more in-depth guides and expert tips on pool renovation, visit poolrenovation.com.


